
Client Portal Guide
Using The Portal
Check Your Email
When you have been added to the secure client portal system, you will be sent a portal notification email containing your activation link.
Please check your "Spam" folder if you don't see this email in your regular in-box. Add "mail@sf-notifications.com" to your "safe sender" or "approved contacts" list, if needed, to avoid having portal e-mails diverted to that folder.
1. Click the link to begin activating your account.

Activation Page
1. Confirm your personal information. First and last names are required but the company name is optional. Click "Continue" to proceed.

2. Set your password by following the prompts under "Please create a password that meets the following requirements:"

3. When your password meets the requirements, please make note of it for future logins and click the "Save and Sign In" button to access your private folder.
Your Private Folder
Your private folder will be displayed, by name, on the default portal landing page.
1. Please click on the folder's name to access it.
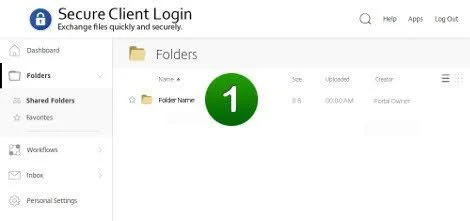
Our example private folder below, as indicated, is empty.

Uploading Files
To "upload" means to copy local files from your computer, through the Internet, into your private folder in the portal.
To upload files, either:
Drag and drop them from your desktop onto the page, where indicated, or
Click the "Browse files" link to select the files from your computer.

Downloading Files
To "download" means to copy files from your private folder in the portal, through the Internet, and onto your local computer.
The example private folder, below, is no longer empty because it contains a sample file called "sample.docx".

To download a file:
Click the checkbox (not the star) on the left to select the file, then
Click the "Download" button which appears when files are selected.

Signing In & Out
The portal keeps track of users who are signed in. If you are signed in and idle (no uploads or downloads and no browsing activity is detected) for about fifteen minutes, the portal will automatically sign you out. When this happens, you can simply sign back in to continue your portal session.
IMPORTANT! It is always a security best practice to sign out of the portal when you are done using it and before closing the browser tab or window.
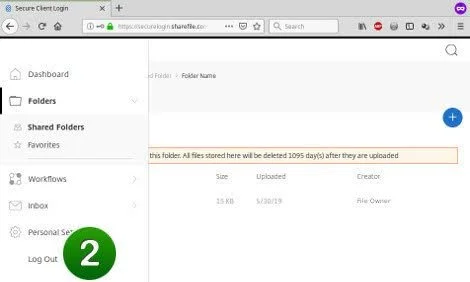
To sign out, simply click the "Log Out" link which appears:
At top-right, in desktop view, or
At the bottom of the main menu, in mobile view, on smaller displays.

Passwords
Your "username" for signing into the portal is your email address.
Your portal password is the one that you set when you activated the account.
To reset your password, click the "Forgot Password?" link on the login screen and follow the instructions. The portal system will send a password reset link to you by email (please don't forget to check your spam folder!)
